n a previous Photoshop text effects tutorial, we looked at how to place a single image inside text. This time, we're going to take things further and learn how to place multiple images in text. This is a popular effect that's often used in advertising and promotional material but is also lots of fun just to play around with on your own. We're going to take a word and place a different image inside each individual letter. It's very easy to do, and a lot of it is just simple repetition.
I'll be using some images made freely available by the good folks at NASA, along with a font that's also freely available online, but as always, the end result I come up with here is not what's important. The point is learning how it's done so you can use the same techniques to bring your own ideas to life. Having said that, he's the result I'll be working towards in this tutorial:

Images In Text: The final effect.
Let's get started!

Step 1: Open The Image You Want To Use As Your Background Image
The first thing we need to do is open our initial image, the one we'll be using as the background. Of course, you don't necessarily need to use an image. You could have a solid color background, a gradient, a pattern - whatever you like. I just happen to be using an image, and here's the one I'll be using:

Images In Text: The original image that will be used as the background.
Step 2: Select Photoshop's Type Tool
Select the Type Tool from the Tools palette, or simply press the letter T on your keyboard to select it:

Images In Text: Select the Type Tool.
Step 3: Select Your Font In The Options Bar
With the Type Tool selected, go up to the Options Bar at the top of the screen and choose your font. You'll want to use a font that will give you thick letters for this effect, otherwise it will be tough to see the images inside them. Don't worry about the font size for now, since we can easily resize it as needed later. I'm going to use a font called "Mathmos Original", a sci-fi font which I downloaded for free from 1001 Free Fonts:

Images In Text: Select your font from the Options Bar at the top of the screen.
Step 4: Set Your Text Color To Something You'll Be Able To See In Front Of Your Image
Before we begin typing, let's make sure our text color is something we'll be able to see. My image is mostly black, and by default, my text color is also set to black, which will make seeing it a bit difficult, so I'm going to change it to a different color. To do that, I'll click on the color swatch in the Options Bar:
Images In Text: Change the color of your text by clicking on the color swatch in the Options Bar (with the Type Tool selected).
Then I'll choose a different color from Photoshop's Color Picker. It doesn't matter which color you choose since you won't see it once we fill the text with images, so don't spend too much time on your decision. I'll choose a shade of red:
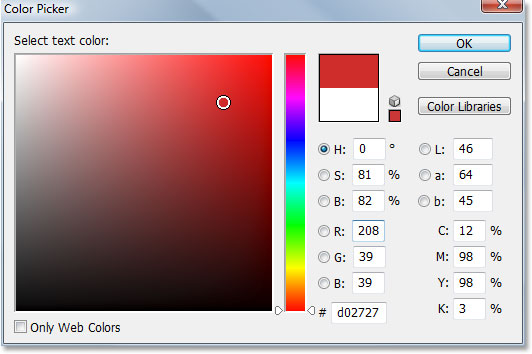
Images In Text: Choosing white from the Color Picker in Photoshop.
Click OK to accept the new color and exit out of the Color Picker. The color swatch in the Options Bar now changes to show the color you selected. In my case, it's showing red:
Images In Text: The color swatch in the Options Bar has changes to show the new text color.
Step 5: Type The First Letter Of Your Word
In order to add a different image inside each letter of a word, we'll need to work with each letter individually, so let's create our word one letter a time. This way, each letter will appear on its own layer in the Layers palette. Click approximately where you want your first letter to appear inside your document and type the letter. I'm going to be using the word "SPACE", and since the first letter of the word is "S", I'll type "S" (I know, it's all very complicated stuff):

Images In Text: Type the first letter of your word.
When you're done, click on the checkmark in the Options Bar to commit the text.

Images In Text: Commit the text by clicking on the checkmark in the Option Bar.
If we look at our Layers palette, we can see that we now have two layers - the Background layer on the bottom which contains whatever you happen to be using as your background, and the first letter of our word on its own layer above it:

Images In Text: The Layers palette in Photoshop showing the Background layer and the letter on its own layer above it.
No comments:
Post a Comment